Smart Generator
Smart Generator
Never Get Caught in the Dark
DC Output
DC
Gas Tank
4L
Output Power
1800W
Automatically Start/Stop
Easy
Maintenance
CO
Alarm
Power your
home for days.
The generator that puts preparation first.
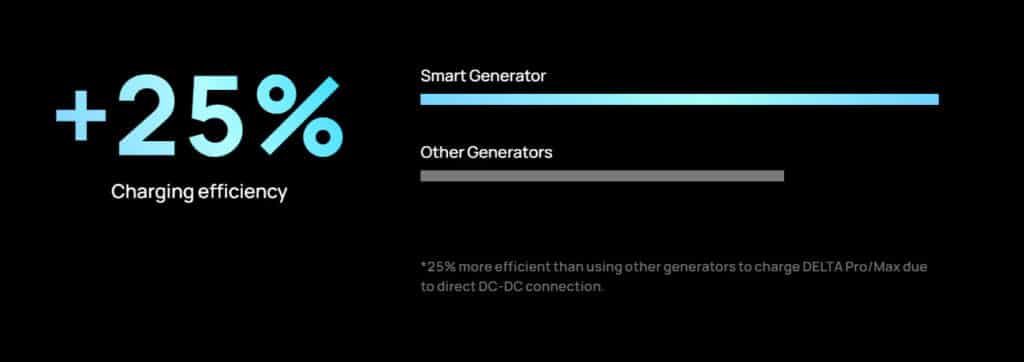
Recharge & power simultaneously.
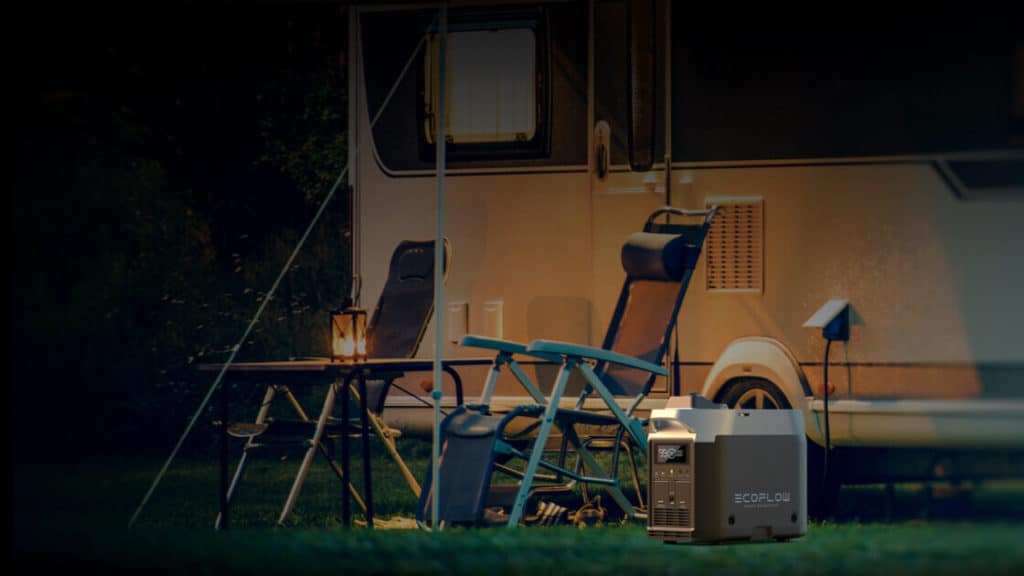
Safety first.
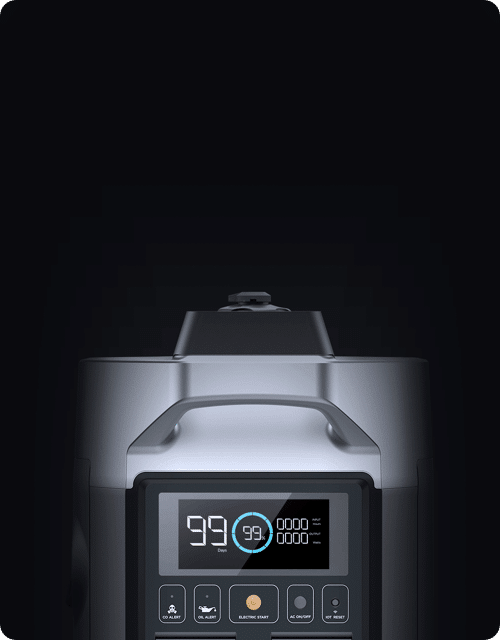
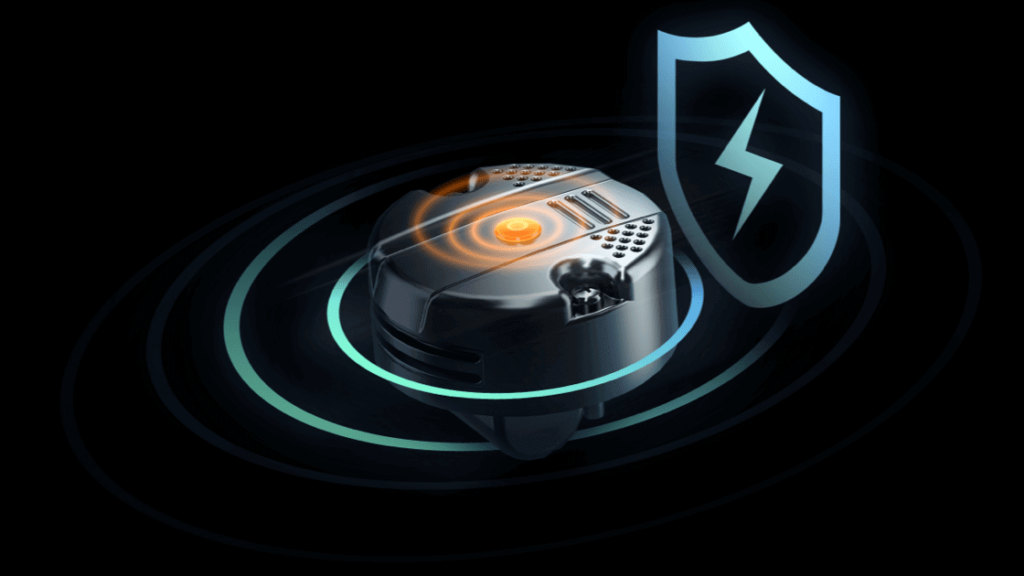
The Smart Generator puts safety first. It features a carbon monoxide alarm to signal if you have enough ventilation, and will auto shut off when CO levels are too high. It also has an alarm to let you know when you need to top up the fuel so you’re never caught short.
Smart. Really smart.
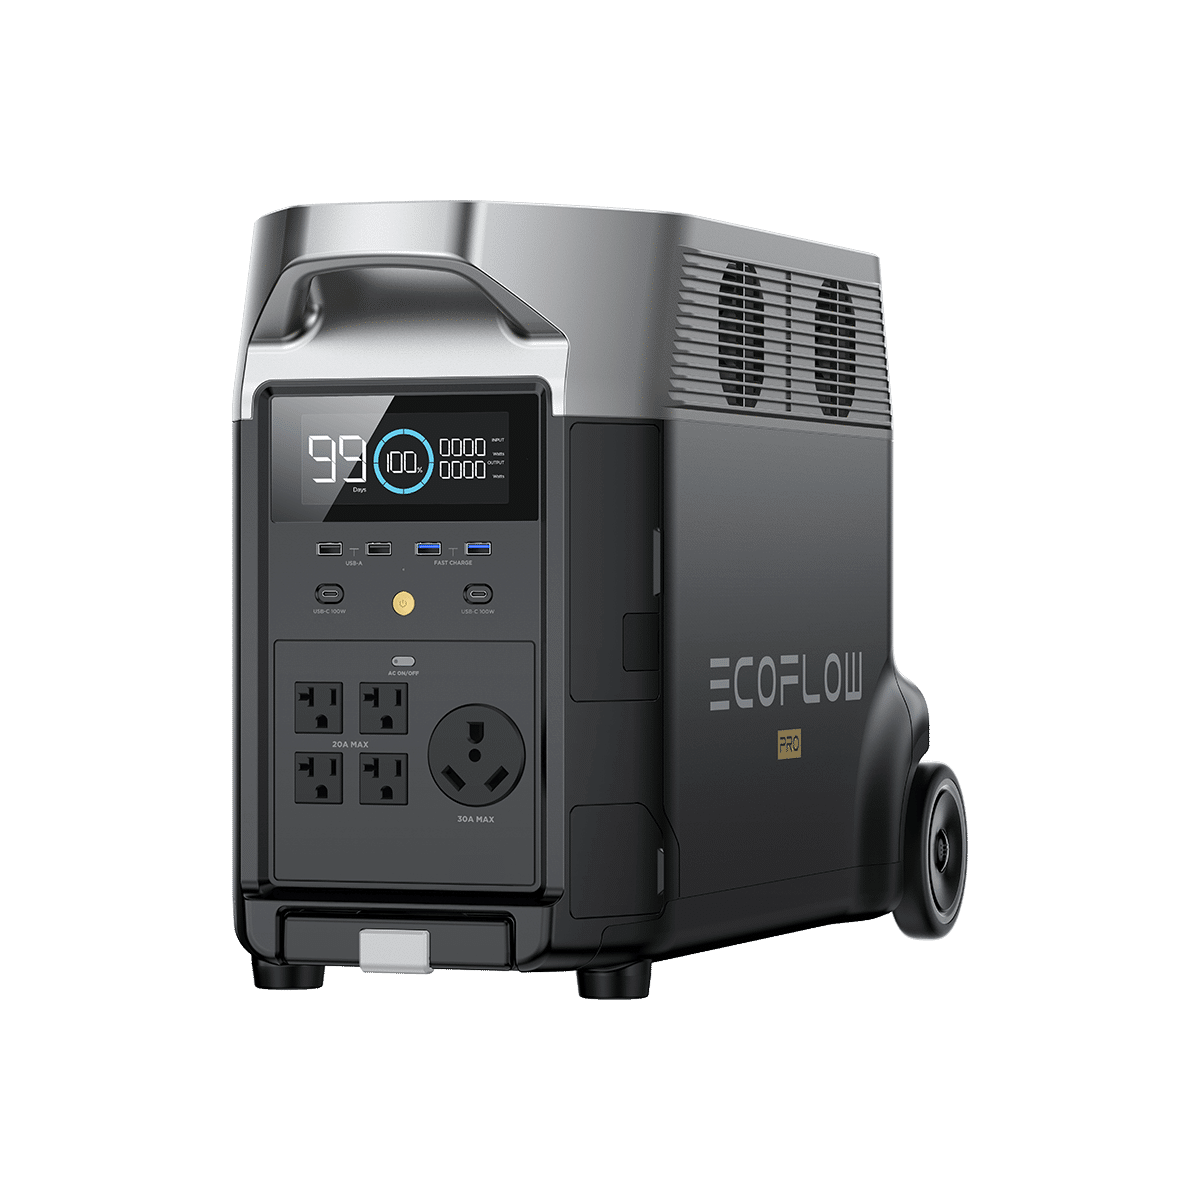
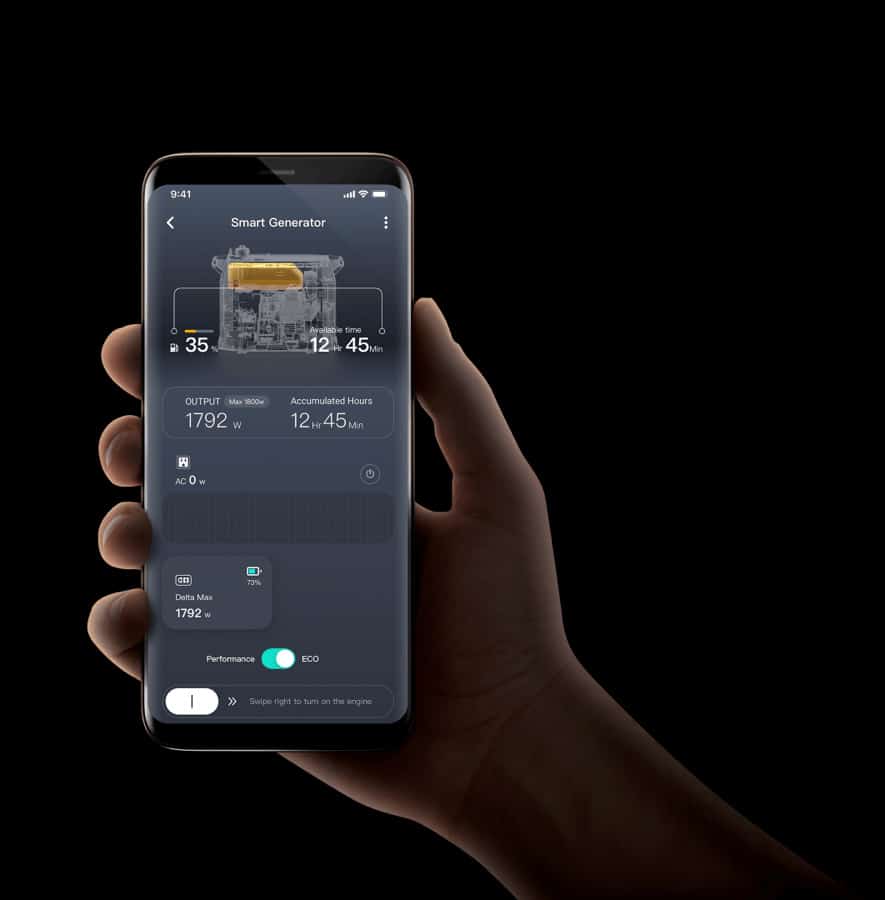
The EcoFlow Smart Generator isn’t just any generator. When your DELTA Pro/Max falls to a set charge level, the Smart Generator can automatically kick in to charge up your unit, then turn itself off when the job’s done. All this is customizable and controllable within the EcoFlow app too.
Made with you in mind.
Interior Design
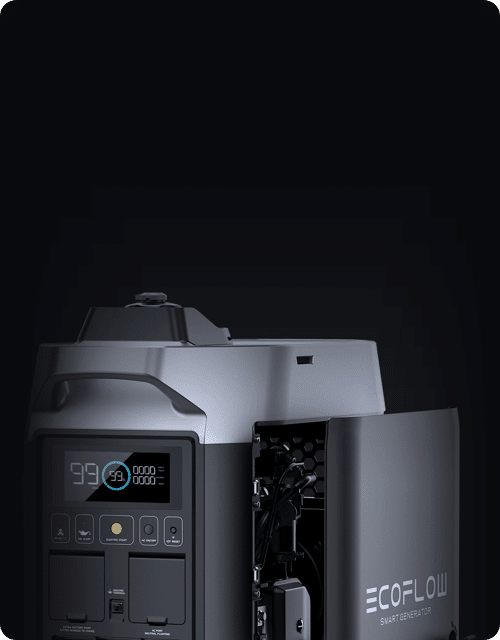
Each wire is secured and plated in copper, a key consideration in case of knocks and jolts, all while providing extra cooling. The 4 fans up auto-regulate to breathe ventilation through the unit for extra cooling.
FAQ
Like any gas generator, it must be placed outside 15 feet from doors and windows to prevent carbon monoxide poisoning. The Smart Generator automatically shuts off if it detects dangerous carbon-monoxide levels, but isn’t a substitute for having CO detectors in other parts of your house.
Unleaded gasoline.
Go to More and then Maintenance to find more details or check out the user manual shipped with the Smart Generator.
1. Turn the maintenance cover knob to OPEN and take off the maintenance cover.
2. Take off the spark plug cap.
3. Use the spark plug socket and turn it counterclockwise to remove the spark plug.
4. Check for any color fading and remove any carbon deposits. The porcelain center around the spark plug center electrode should be moderately light brown if it is in good condition.
5. Check the model of the spark plug and that it has sufficient clearance.
1. Unscrew the bolts.
2. Take off the muffler cap, muffler block, and spark plug arrestor.
3. Clean the carbon deposits on the muffler block and the spark plug arrestor gently with a wire brush to avoid damaging or scratching the muffler block and spark plug collector.
4. Check whether the muffler block or the spark plug arrestor is damaged, and replace it if damaged.
5. Reinstall the parts in order.
1. Take off the fuel cap and fuel filter screen.
2. Clean the fuel filter screen with fuel.
3. Wipe the filter screen and place it back into the fuel.
4. Reinstall the fuel cap.
1. Turn the maintenance cover knob to Open and take off the maintenance cover.
2. Take off the screws and the air filter cover.
3. Take off the foam filter element.
4. Clean the foam filter element with soapy water or a nonflammable solvent and let it dry.
5. Add oil to the foam filter element and squeeze out excess oil. The foam filter element should be wet but not drenched.
6. Place the foam filter element into the air filter. Note: Make sure that the surface of the foam filter element is in close contact with the air filter, leaving no gap between them. Do not start the generator before reinstalling the air filter as excessive toxic gas may be produced and wear down the engine block.
7. Install the air filter cover back to its original position and tighten the screws.
8. Reinstall the maintenance cover and turn the knob to Closed. maintenance cover and turn the knob to Closed.
1. Place the Generator on a level surface, start it up, and keep it running for several minutes to warm it up. Turn off the Generator and turn the Engine Switch and the fuel cap breather knob to OFF.
2. Turn the maintenance cover knob to Open and take off the maintenance cover.
3. Unscrew the lid and dipstick.
4. Place the oil basin under the Generator and tilt the unit so that the oil will drain quickly. If you replace the engine oil yourself, please dispose of the used oil properly. Store the used oil in a sealed container and take it to your nearest oil recycling center. Do not pour it into any trash can, onto the ground, or into the sewer. Note: Improper disposal of engine oil may harm the environment.
5. Place the Generator in its original horizontal state.
6. Refill the oil to the proper level.
7. Wipe the dipstick clean and remove any spilled oil. Prevent any foreign objects from entering the engine.
8. Tighten the dipstick and lid.
9. Reinstall the maintenance cover and turn the knob to Closed.
The carburetor is an essential part of the engine and should be adjusted by a dealer with professional knowledge, data, and equipment. Changing the carburetor when working at high altitudes: The atmospheric pressure may reduce the amount of air that carburetors intake when running in high-altitude areas. This may cause its performance to decline and increase fuel consumption. It may also affect the spark plug and make the engine hard to start. If at an altitude different from when the engine was certified, emissions may increase over an extended running time. Modifying the carburetor may improve its high-altitude performance. If you continuously operate your generator above 3281 feet (1000 meters), contact your after-sales service dealer, who can modify the carburetor.
Turn the maintenance cover knob to open, take off the maintenance cover and check whether the positive and the negative wires of the battery are connected correctly.
Check for oil leaks. Check the oil level:
1. Unscrew the lid, take out the dipstick and wipe it clean.
2. Put the dipstick back without screwing it in, and check the oil level.
3. Add oil if the oil level is low.
4. Screw the dipstick and lid back in firmly.
Take off the fuel cap and check the fuel level. Add more fuel if the fuel level is too low.
Do not plug in any devices before starting the Smart Generator.
The generator cannot be started by the Electric Start button unless the internal battery is connected. Turn the maintenance cover knob to OPEN, take off the maintenance cover and connect the positive and the negative wires of the battery.
The Generator does not come with oil and needs to be filled before use. Do not tilt the Smart Generator when adding oil to prevent damaging the unit with excess oil.
Do not overfill the fuel tank, as fuel may expand and spill out when the fuel tank warms up. Be sure to close the fuel cap tightly after refueling.
EcoFlow app features include fuel level, output, remaining runtime, time operated, start and stop engine button, ECO mode, AC output ON/OFF, and error and maintenance alerts.
Yes, you can use the AC and DC outlets while recharging DELTA Max or DELTA Pro.
Smart Generator can recharge Delta Pro 1.2 times, or Delta Max 2.4 times.
When discharging at 1800W, the Smart Generator can run for approximately 3.5 hours on a full tank. Smart Generator can fully charge DELTA Pro in 2.7 hours.


